
Desktop · 1280px · shown at 0% · edit the text, images and colours in the panel
Event RSVP Form — Free Website Section Template
Forms · v1.0.0 · Updated 2026-11-12 · Responsive · GSAP animation · HTML, React & Vue
Extend with AI
Take This Section Further With AI
The AI prompt for this one is for Patreon supporters ($3 a month), along with a site with no ads. Supporters enter the passcode once and it is remembered in this browser.
What's included
Features
About this section
Event RSVP Form — Free Registration Form With Guest Counter & Tickets
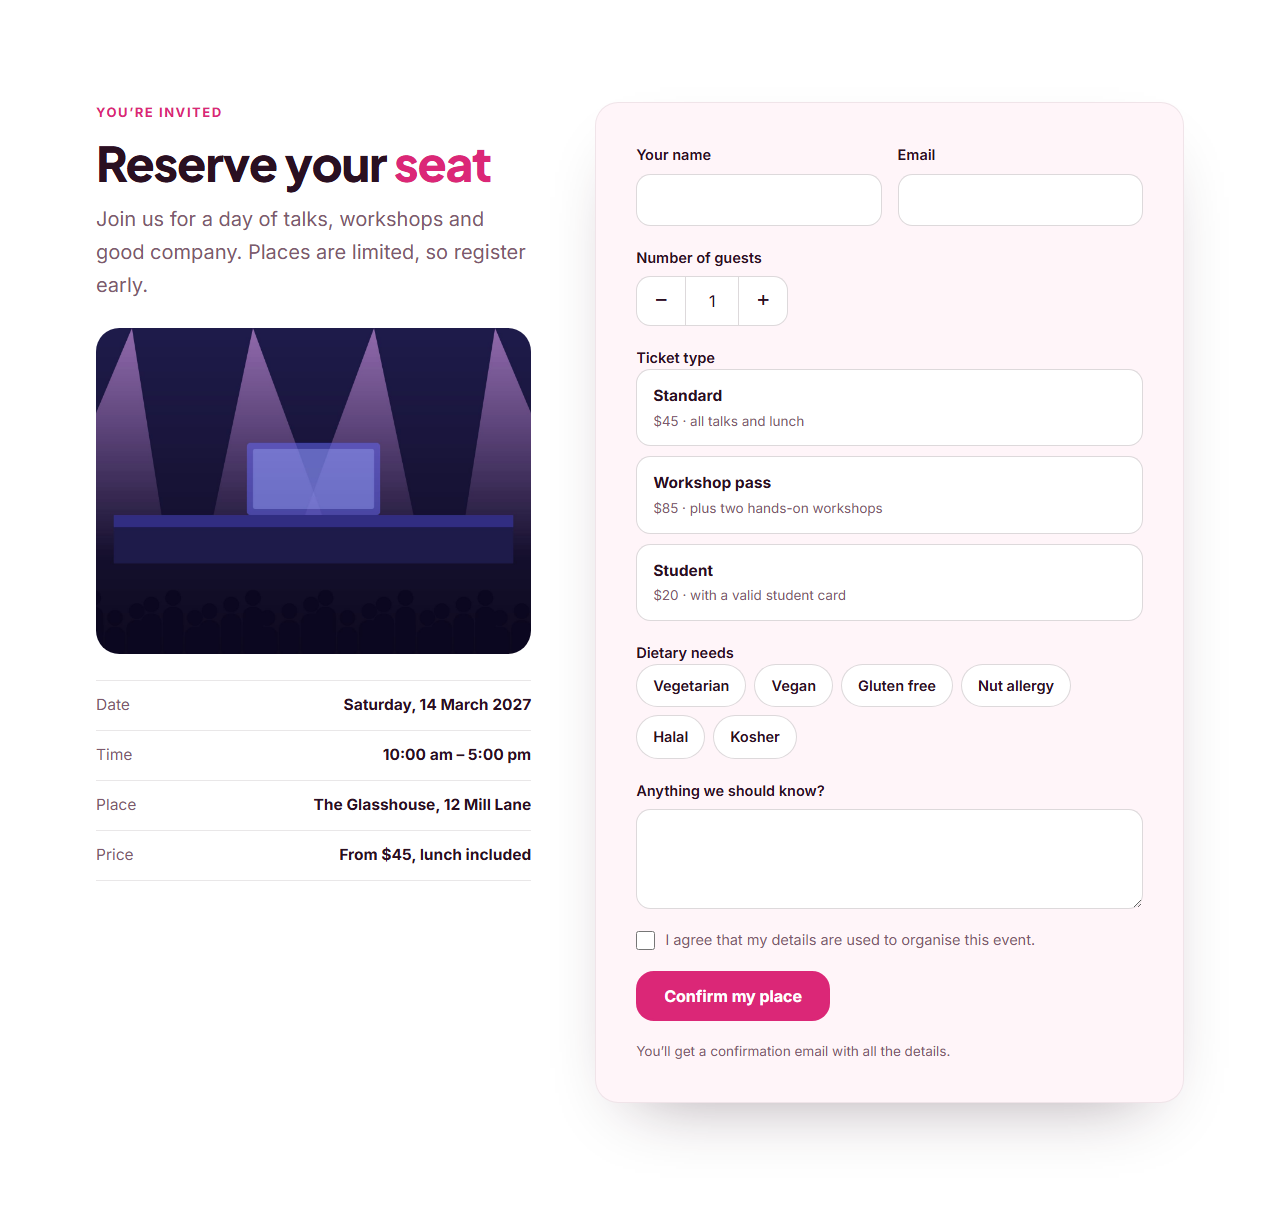
Event RSVP Form pairs the facts of an event with the registration itself. On the left are a photo and a tidy list of date, time, place and price; on the right a form takes the name and email, a guest counter with plus and minus buttons, ticket cards, dietary needs as pill buttons and a message. It suits conferences, workshops, weddings and parties.
A counter that is easy to use
The guest stepper is a number field between two large buttons (one to ten), so it works with a thumb on a phone, and the number stays editable with the keyboard. Choosing a ticket uses stacked option cards with a title and a short description (“$45 · all talks and lunch”). Dietary needs are pills you can tap more than once.
Edit the details
Change the photo, the event facts and the three lists (tickets and dietary options) in the editor. Empty the guests label, the ticket heading, the dietary heading or the message label to remove those fields for a simpler RSVP. Every form posts to the address you paste into "Form URL" (Formspree, Basin, Getform or your own server), shows a success message, shows an error message when something fails and contains a hidden spam-trap field. Without JavaScript it is an ordinary form post. The form sends the name, email, guests, ticket, dietary needs and message.
Related sections
Show who is speaking with the Team Grid, answer common questions in a FAQ section and add a countdown if you have one. Export the form as HTML, a ZIP, React or Vue.
Why use it
Why Use the Event RSVP Form
How it’s different
How It’s Different From Other Free Section Templates
Step by step
How to Use
- 1Edit the contentFill in the heading, photo, event facts, labels, choices and form in the panel. Wrap words in *asterisks* to colour them.
- 2Add your imagesUpload your own images (resized in your browser and kept on your device) or paste a hosted image URL.
- 3Match your brandPick a colour preset or exact colours, choose heading and body fonts from Google Fonts or your own uploaded font, set the corner radius and width, or apply your brand kit.
- 4Animate and previewChoose a GSAP entrance effect and speed, press Play animation, and check the section on desktop, tablet and mobile.
- 5Save and exportSave it to My designs, then export a single HTML file, a ZIP with your images, a React or Vue component, or fork it into My Code.
Real-world uses
Common Use Cases
Got questions?
Frequently Asked Questions
It is a number input between two buttons. The buttons change the value by one, never below the minimum or above the maximum (ten), and typing a number also works.
No. It collects the choice and posts it to your endpoint. Add a payment link in your confirmation email or connect your own checkout.
Yes. Empty the label or heading for that part in the editor and it is left out of the exported form.
Upload an image in the Photo group, or paste an image link. Add alt text that describes the picture.
Seat limits are enforced by your system. You can lower the counter maximum in the exported HTML, and close the form when the event is full.
It saves an editable copy of your Event RSVP Form in My Code, the UI Snippets code editor: the section markup goes in the HTML panel, its CSS (theme variables, base styles and layout) in the CSS panel, and the GSAP library is added as a CDN link, so you can keep refining the code and save your own versions.
Yes. Every section is free for personal and commercial work, with no account, no watermark and no attribution: export it on its own as HTML, React, Vue or Next.js from its page, or use it in a website you build and export in the Website Builder.